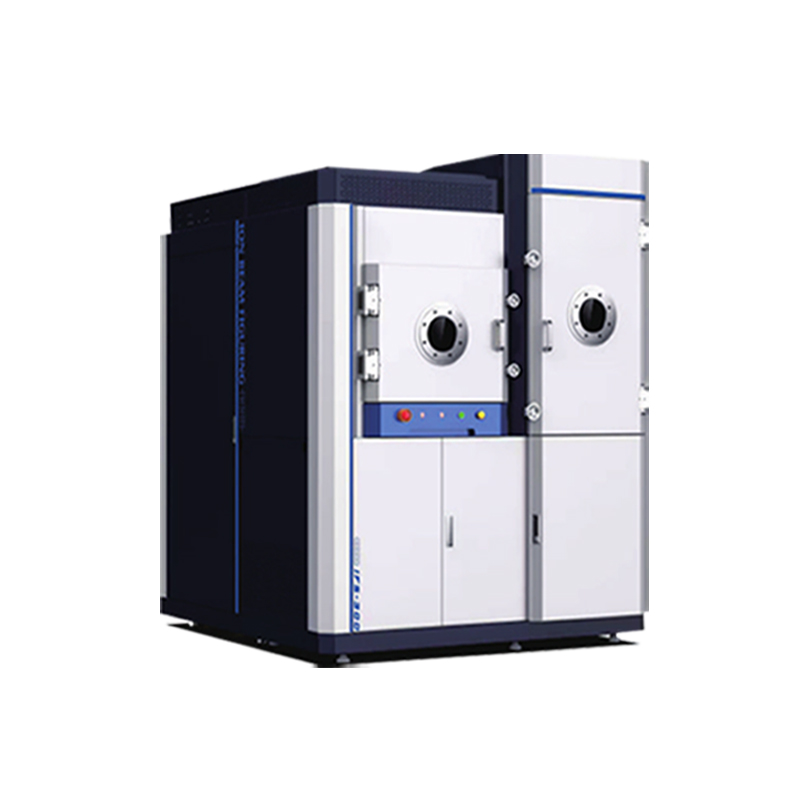
Integrated Faraday cup and coordinate probe, Faraday cup measures the spatial position and distribution of the ion beam, and the coordinate side head measures the spatial position and attitude of the workpiece, so as to establish an accurate machining coordinate system, achieve high certainty and high precision ion beam polishing, and effectively eliminate middle and high frequency errors.Workpiece side vertical clamping, ion beam polishing operation is convenient, reliable and stable.Wireless controller,The ion beam polishing control software is highly integrated and intelligent. Ion beam polishing protection measures are perfect, with unexpected power, water, gas and other fault alarm protection, motion system fault protection, ion source fault protection.
product parameter
| Product Name | parameter |
|---|---|
| Machining capacity (maximum workpiece size) | 300mm×300mm Thickness 100mm |
| Machined surface shape | Plane, sphere, aspherical surface, free-form surface, paraboloid, etc |
| Machinable material | Quartz, microcrystal, ULE, sapphire, monocrystalline silicon, silicon carbide and so on |
| Machinable accuracy | Sub-nano machining precision, surface shape RMS < 1nm ultra-high precision machining |
| X-axis travel | ≥300mm |
| Y-axis travel | ≥300mm |
| Z-axis travel | ≥300mm |
| ion source | German radio frequency ion source |
| averager | Germany |
| Working vacuum setup time | ≤1 hours |
| Secondary chamber vacuum setup time | ≤15 min |
| defensive function | With unexpected power, water, gas and other fault alarm protection, motion system fault protection, ion source fault protection |
| intelligent function | It has intelligent one-key startup, one-key shutdown, scheduled reservation processing, remote control, log and other functions. |
| boundary dimension | Length, width and height: 2.5×2.5×2.1m |
| total weight | 4 tons |
| Power consumption | Max:12KW Avg:5KW |
contact us
contact us
